
But you might find yourself wondering, “do I really need to bother with the floors?”. And fair enough. Floor surfaces don’t typically come into contact with our face. We don’t regularly place our hands on the floor either. So what is the risk of unclean floors are your facility?
Unclean Floors A Contamination Risk
In a 2017 study published by the American Journal of Infection Control, researchers concluded that “floors in patient rooms were frequently contaminated with health-care associated pathogens and demonstrated the potential for indirect transfer of pathogens to hands from fomites placed on the floor”. Moreover, in a survey of 5 hospitals, they found that floors in patient rooms were frequently contaminated with health-care associated pathogens and it was also not uncommon for high-touch objects to be in direct contact with the floor.
In this example, we recognise the risk of cross-contamination by contact. But did you know that contaminated microorganisms can attach to fine dust particles, that also become a risk when airborne?
While health care environments undoubtedly carry greater risk of exposure, appropriate floor cleaning and disinfecting floors is a crucial aspect of infection control programs at any industrial or commercial facility – whether you’re a busy logistics depot with a large staff, a food production facility with strict hygiene protocols, or a supermarket that values food safety and store presentation.
Cleaning Vs Disinfecting: What is the difference?
In order to develop the best floor cleaning practices for infection control, it helps to understand the difference between cleaning and disinfecting. The two are not one-and-the-same.
According to the Center for Disease (CDC), cleaning refers to the removal of dirt and impurities from surfaces, including microscopic bacteria and virus-carrying organisms commonly referred to as “germs”. Cleaning alone does not kill germs. However, removing surface impurities including germs, decreases the number of infectious microorganisms on the surface, and therefore minimises the risk of germs spreading.
Disinfection however requires the application of chemicals to kill germs found on surfaces. This process alone does not necessarily clean dirty surfaces, or even remove germs from soiled floors. The disinfectant simply kills any germs it stays in contact with for the appropriate period.
Cleaning and disinfecting together achieves the greatest reduction of infectious bacteria and viruses on surfaces, by first removing dust and impurities, to then allow the disinfectant solution to properly penetrate the surface.
6 Steps to Cleaning & Disinfecting Floors
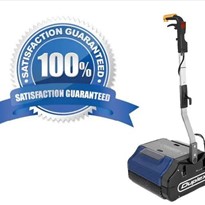
At Conquest, we take our role as experts in floor cleaning very seriously. That’s why we have invested in research and worked with global industry leaders, to source and develop effective solutions for cleaning and disinfecting floors.
Here we share our 6-step guide to best practice cleaning and disinfecting hard flooring with a scrubbing machine.
Step 1. Select an appropriate, medical grade disinfectant solution
The first step is to select a disinfectant solution that is suitable for the intended purpose. Global authorities such as the CDC, are recommending Hospital Grade Disinfectants for use against COVID-19.
Our expert team can help you identify and source the right disinfectant solution, and advise if appropriate for use in our floor scrubbing machines. Alternatively, your local chemical supplier is also a great resource.
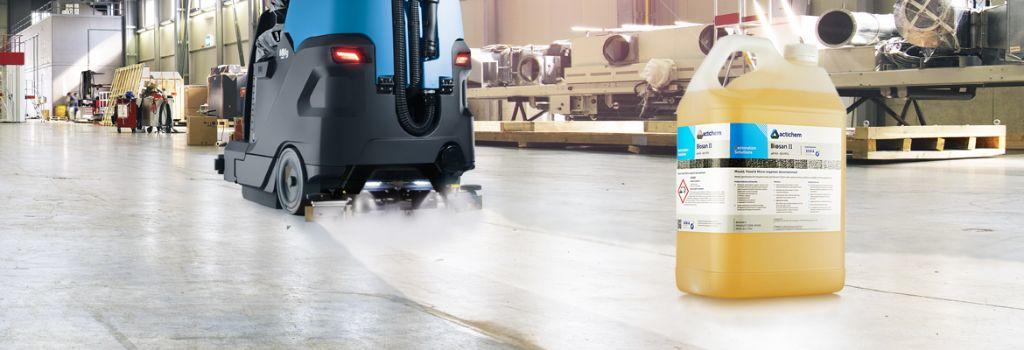
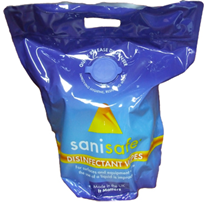
Conquest recommend AP439 Biosan II against COVID-19 for disinfecting floors.
Features and benefits include:
- Non-toxic and non-hazardous when diluted 1:50
- Safe for use on all water cleanable surfaces when diluted 1:50
- Safe on food preparation surfaces when diluted 1:50
- Does not need to be rinsed, except when used on food preparation surfaces.
- Ideal for use in a spray-and-wipe form for hard surfaces.
- Best left to air-dry if possible. This maximizes dwell time and leaves a disinfectant residual (ideal dwell time is 10 minutes).
- Stable when diluted for 6 months.
Step 2. Clean the floor as you would normally
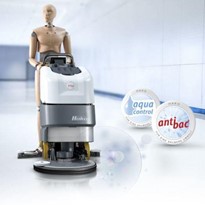
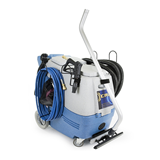
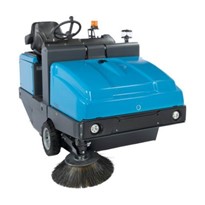
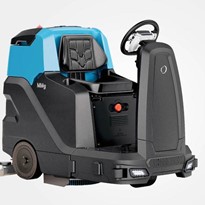
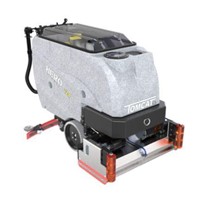
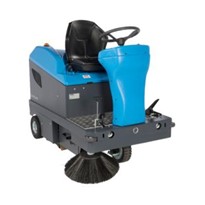
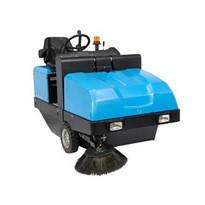
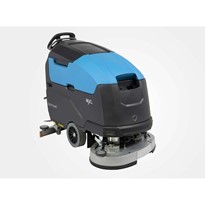
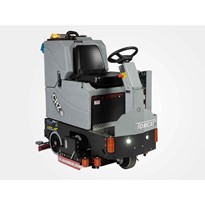
Clean the floor as you would normally, to remove surface impurities. Conquest recommend using a floor sweeper to first clear dust and debris, followed by a scrubbing machine to remove built-up grime. Alternatively, a floor scrubber with pre-sweep functionality may be appropriate in some environments. Some great options for this process include:
- Conquest PB160E Ride-on Sweeper
- Conquest MMG Ride-on Scrubber
- Conquest Carbon Edge Walk-behind Scrubber
- Conquest CC1200 Combination Sweeper Scrubber
- Plus many more in the Conquest range of floor sweepers and scrubbers
The Australian Government Department of Health state that cleaning with detergent is an essential part of disinfection in this step, to remove organic matter that may otherwise deactivate disinfectant. Be sure to confirm that your general detergent is suitable for use in the floor scrubbing machine.
Always empty the floor scrubber of any remaining water and chemical solution at the completion of this step.
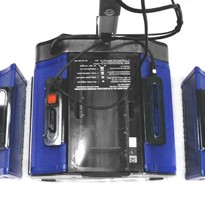
Step 3. Fill the solution tank with the correct dilution ratio of disinfectant.
Read the label on the disinfection solution to determine the correct dilution ratio, then fill the solution tank of the floor scrubbing machine.
Note: For best results and to avoid possible damage to the scrubbing machine, please ensure the correct dilution ratio per the disinfectant packaging label.
Step 4. Scrub with the disinfectant solution and allow to dwell on the floor
Scrub the floor with just the Brushes/Pads of the scrubbing machine lowered to the surface of the floor. You will be leaving the solution to dwell on the floor for the recommended contact time, per instructions on the disinfectant packaging label. So please leave the scrubber vacuum turned off, and the squeegee in the raised position.
Step 5. Recover the disinfectant solution with your auto scrubber
Once you have allowed the disinfectant solution to dwell for the recommended duration, it is time to recover the disinfectant solution. To do so, go back over the floor surface with your scrubber vacuum turned on and the squeegee lowered to the floor surface.
Step 6. Prepare your machine for storage
When you have finished cleaning and disinfecting floors, you need to prepare the machine for storage. Empty both the solution and recovery tanks in accordance with the legal requirements set our by your local Council, and avoiding any contact with contaminated water. Rinse both the solution and recovery tank with clean water and empty again.
Remove the lid from the recovery tank and allow to air dry.
Remove the squeegee from the machine, rinse it with clean water and allow to air dry.
Remove the pad drive or brushes from the machine, rinse with clean water and allow to air dry.
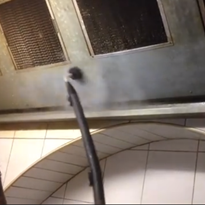
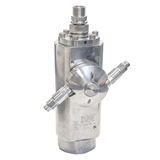
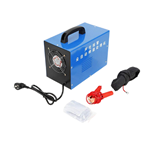
Finally, sanitise the machine using a hand sprayer, also available for purchase from Conquest. Spray inside the tanks, the squeegee, brushes/pads, wheels and any part of the machine that has contact with the recovered dirty water. Remember to be very careful not to spray any electrical components; it is best to wipe theses with disinfectant or alcohol-based wipes.
We’re here to help
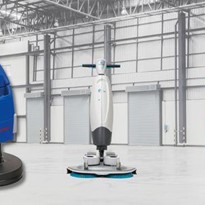
Conquest offer an innovative range of commercial and power floor scrubbers and sweepers. We work with you to tailor high-quality package solutions with everything you need to clean and disinfect even the most challenging hard floor surfaces.
Contact us for a free consultation with one of our expert team and we will fully tailor a hard floor cleaning and disinfection recommendation, that compliments your infection control program.
-160x160-state_article-rel-cat.png)


-205x205.jpg)